NACC Directory User Guides and Tutorials
Workflow 1: Center Administrator
What Center Administrators can access: Center Administrators are the only users outside of NACC staff who have backend access to the NACC Directory to export data, add new records, manage center details, or archive old records.
1. All Individual ADRC Contacts (Report Page)
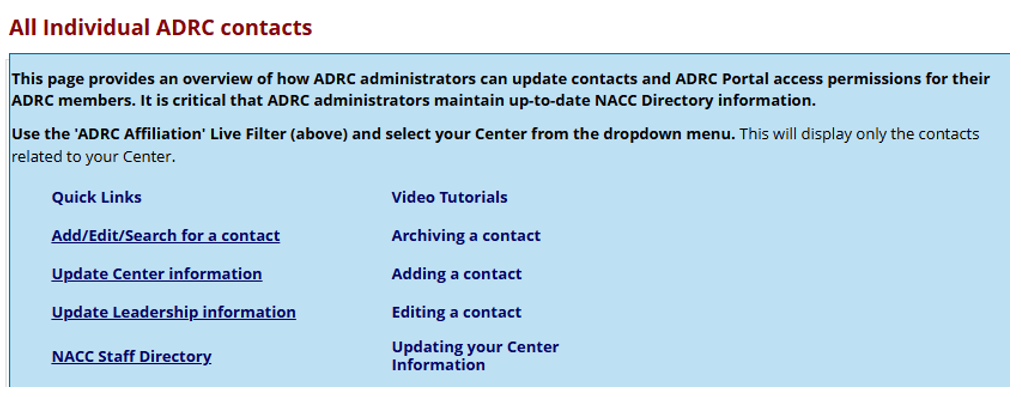
The All Individual ADRC Contacts page is the primary pre-built report designed for Center Administrators. It provides a single place to view and export a comprehensive list of ADRC contacts, with quick links to commonly used Directory resources (including tutorials and frequently used forms).
Step-by-step guide:
-
Log in to your NACC REDCap account.
-
Select My Projects.

-
Open the project NACC Directory.

-
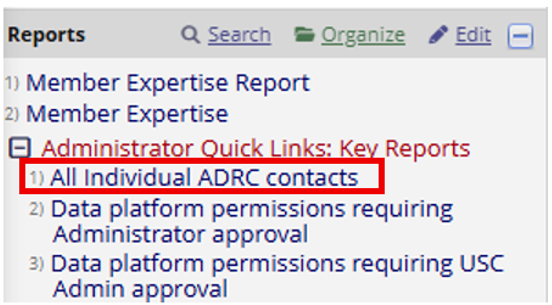
In the left sidebar, under Reports (within the Administrator Quick Links: Key Reports section), select All Individual ADRC contacts.
Tip for Quicker AccessYou can bookmark this report page in your web browser. In the future, clicking on your bookmark will prompt you to log in and take you directly to the report, allowing you to bypass the 'My Projects' and NACC Directory navigation steps.
-
Use the quick links at the top to access commonly used Directory resources (including tutorials and frequently used forms).
-
Review the contact list.
- If the report initially loads a subset, select All to display the full list.
- Optional: To filter the report so it only shows members at your Center, click the ADRC affiliation drop-down list at the top of the page and select your ADRC name.
infoRecords have been hidden in the following screenshot to protect user privacy.

-
Select the member you want to review by clicking their Contact link.
-
Alternative: For a more user-friendly search experience, you can use the Search Dashboard:
- Scroll down to the External Modules section in the left-hand sidebar and select Search Dashboard.
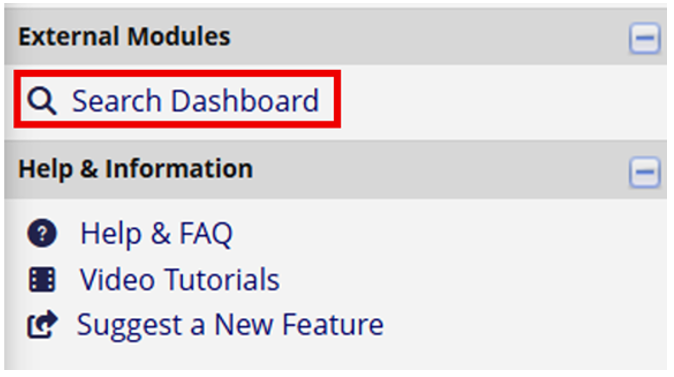
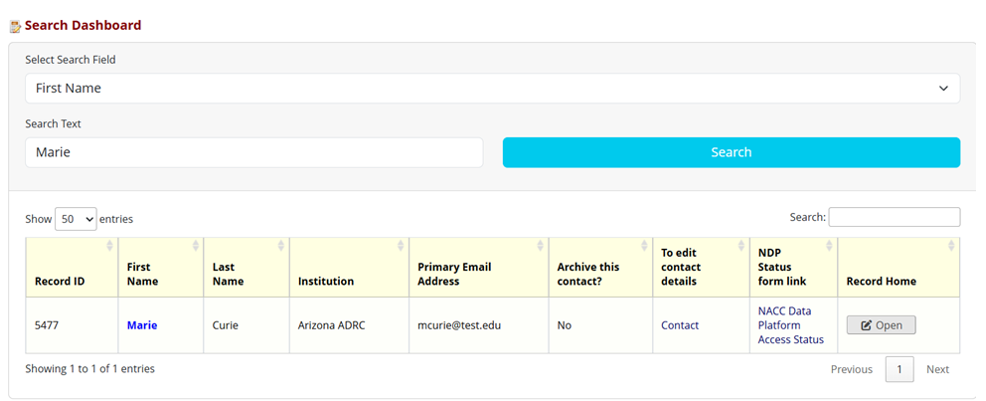
- Enter a search term (e.g., type "Marie" into the First Name field) to generate a table of results.
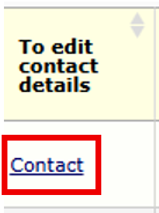
- Click the link in the "To edit contact details" column to open that individual's Contact page.
- Scroll down to the External Modules section in the left-hand sidebar and select Search Dashboard.
-
Distribute the Member Profile Survey to individual members.
Time-saving TipNACC staff can assist with bulk importing member contact information from a CSV file. Once this minimal data is uploaded to the Directory, you can begin distributing the surveys.
To retrieve and send a member's unique survey link:
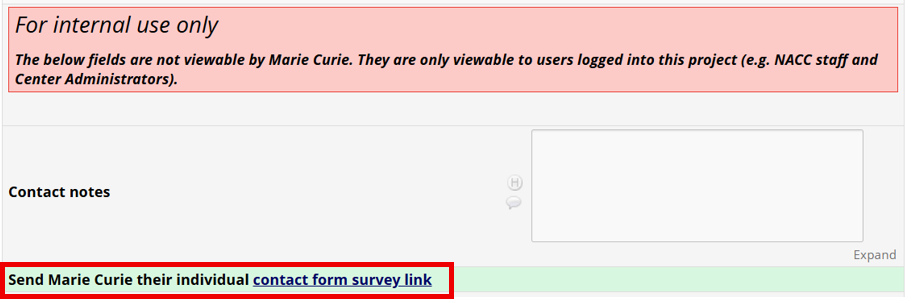
- Open the individual's Contact page (as described in the previous step).
- Navigate to the For internal use only section.
- Locate the prompt: "Send [Name] their individual contact form survey link" (for example, "Send Marie Curie their individual contact form survey link").
- Click on contact form survey link to open or copy their unique web URL (e.g.,
https://nacc.redcap...). - Copy this link and send it directly to the individual member so they can complete their profile.
-
Review and edit the member's profile. This process is like completing the Member Profile Survey, so please refer to the step-by-step guide under Workflow 2 for ADRC and Non-ADRC members for detailed instructions.
NoteIf the Member Profile Survey has already been started or completed, you must click the Edit Response button before you can make any changes.

-
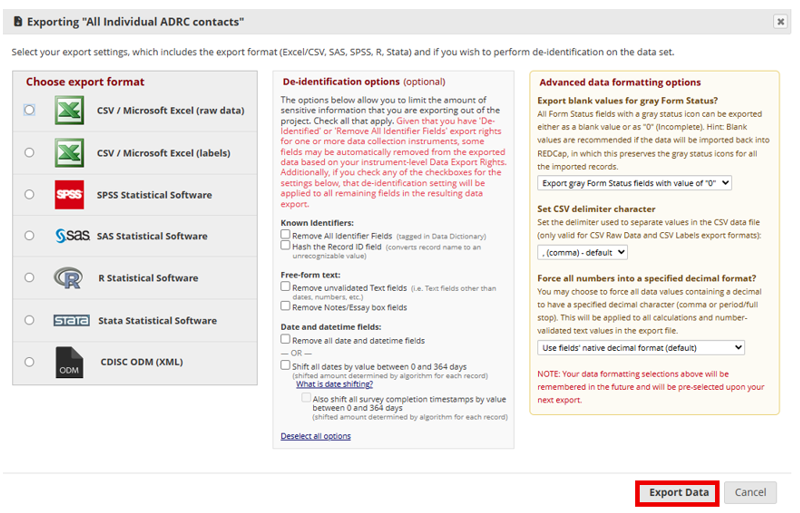
To download the list, select Export Data.
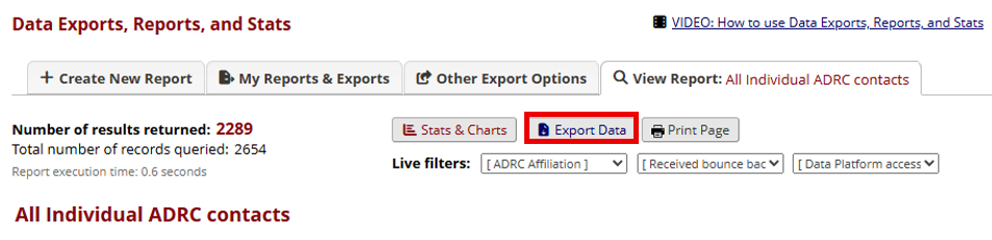
-
Choose an export format. For readability, it is highly recommended to export using labels (not raw/syntax) when possible. Then click Export Data to save the file to your local drive.
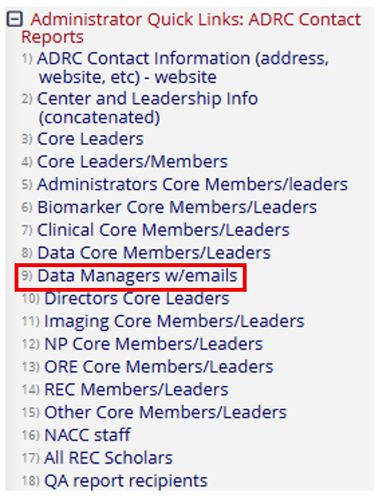
2. Additional Reports
You can find pre-built reports in the left sidebar under Reports (within the Administrator Quick Links: ADRC Contact Reports section). These pre-built reports are designed to streamline common administrative tasks, such as the Data Managers w/emails report, which generates an email list for ADRC Data Managers. If you need a new or customized report, please contact NACC staff.
3. Assigning or Approving Member Permissions
Center Administrators are responsible for reviewing and authorizing Data Platform permissions for their center's members. You have two options:
- Assign directly: Select permissions on behalf of the member and approve them immediately.
- Review member requests: Approve the selections for the members made in their Member Profile Survey.
The Approval section will only appear on the Contact form once the member has completed all their required tasks.
Please refer to the NACC Data Platform Permissions document for further details.
Step-by-step guide:
-
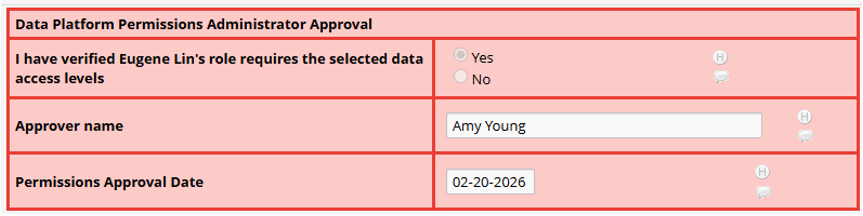
To review members' Data Platform Permissions, on the Contact record, scroll to Data Platform Permissions.
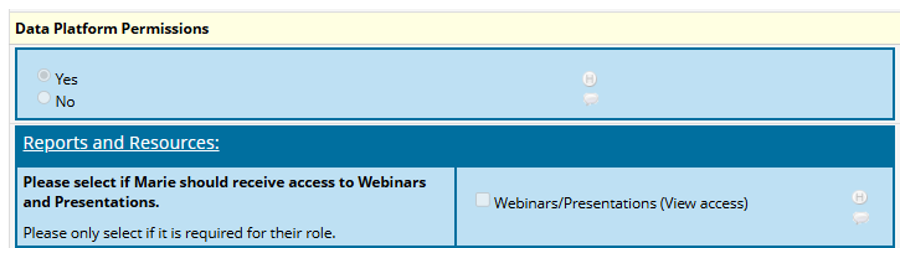
-
Assign and/or approve the requested permissions for the member (e.g., Eugene Lin) within the "For Internal Use only" section on the Contact page. Then save your changes.
Once a member's permissions are approved:
- Only the Center Administrator can edit the member's permissions.
- Upon completing the Member Profile Survey, members are automatically routed to a user agreement and credential verification. Please note that members must sign this user agreement before the Administrator can approve their permissions.
Need help? Contact NACC at ayoung1@uw.edu with questions about data permissions.
4. Additional Administrator Tasks
Depending on your center's needs, you may also interact with other backend forms:
- Company Information Form: Used to track ADRC grant numbers (P20/P30, NCRAD, U24, NACC sub-awards), physical addresses, and center social media/website links.
- ADRC Leadership Information: Used to maintain Center Leadership, Core Leadership, and Data Manager role information (e.g., Administrative Core, Biomarker Core, Clinical Core, Data Core, Directors Core, Imaging Core, Neuropathology Core, ORE Core, Other Cores [formerly named 'Specialty Cores'], REC Component, and Data Managers).
- Archiving Contacts: You can archive contacts who are no longer with the institution or mark duplicate records.
Records for members who have been inactive for more than 12 months are permanently archived and deleted once a month unless the member has a history of serving on a NACC committee or was a REC Scholar.
5. NACC Directory Forms Overview (Reference)
The NACC Directory is made up of multiple REDCap forms that integrate into a single user profile. Depending on your role, you may interact with:
-
Member Profile / Contact Form: Used for general contact information, research expertise, and permission requests.
NoteWhile the survey version is called the Member Profile, it is displayed as the "Contact form" when viewed by a logged-in user.
-
Committee and Workgroup Information: Tracks current and past participation in NACC/ADRC committees (e.g., Executive Committee, Clinical Task Force, Steering Committees).
-
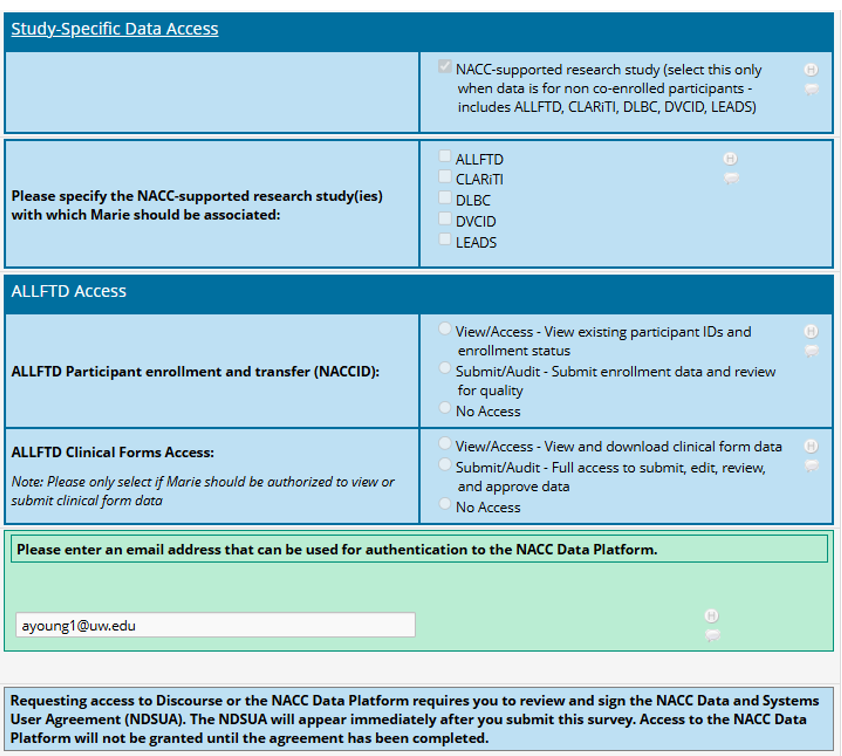
NACC Data and Systems User Agreement: The required policy agreement outlining the terms for using NACC REDCap, ADRC Portals, and the Community Forum (Discourse).
-
Company & Leadership Information Forms: Completed exclusively by Administrators to manage ADRC grants, locations, and center leadership rosters.