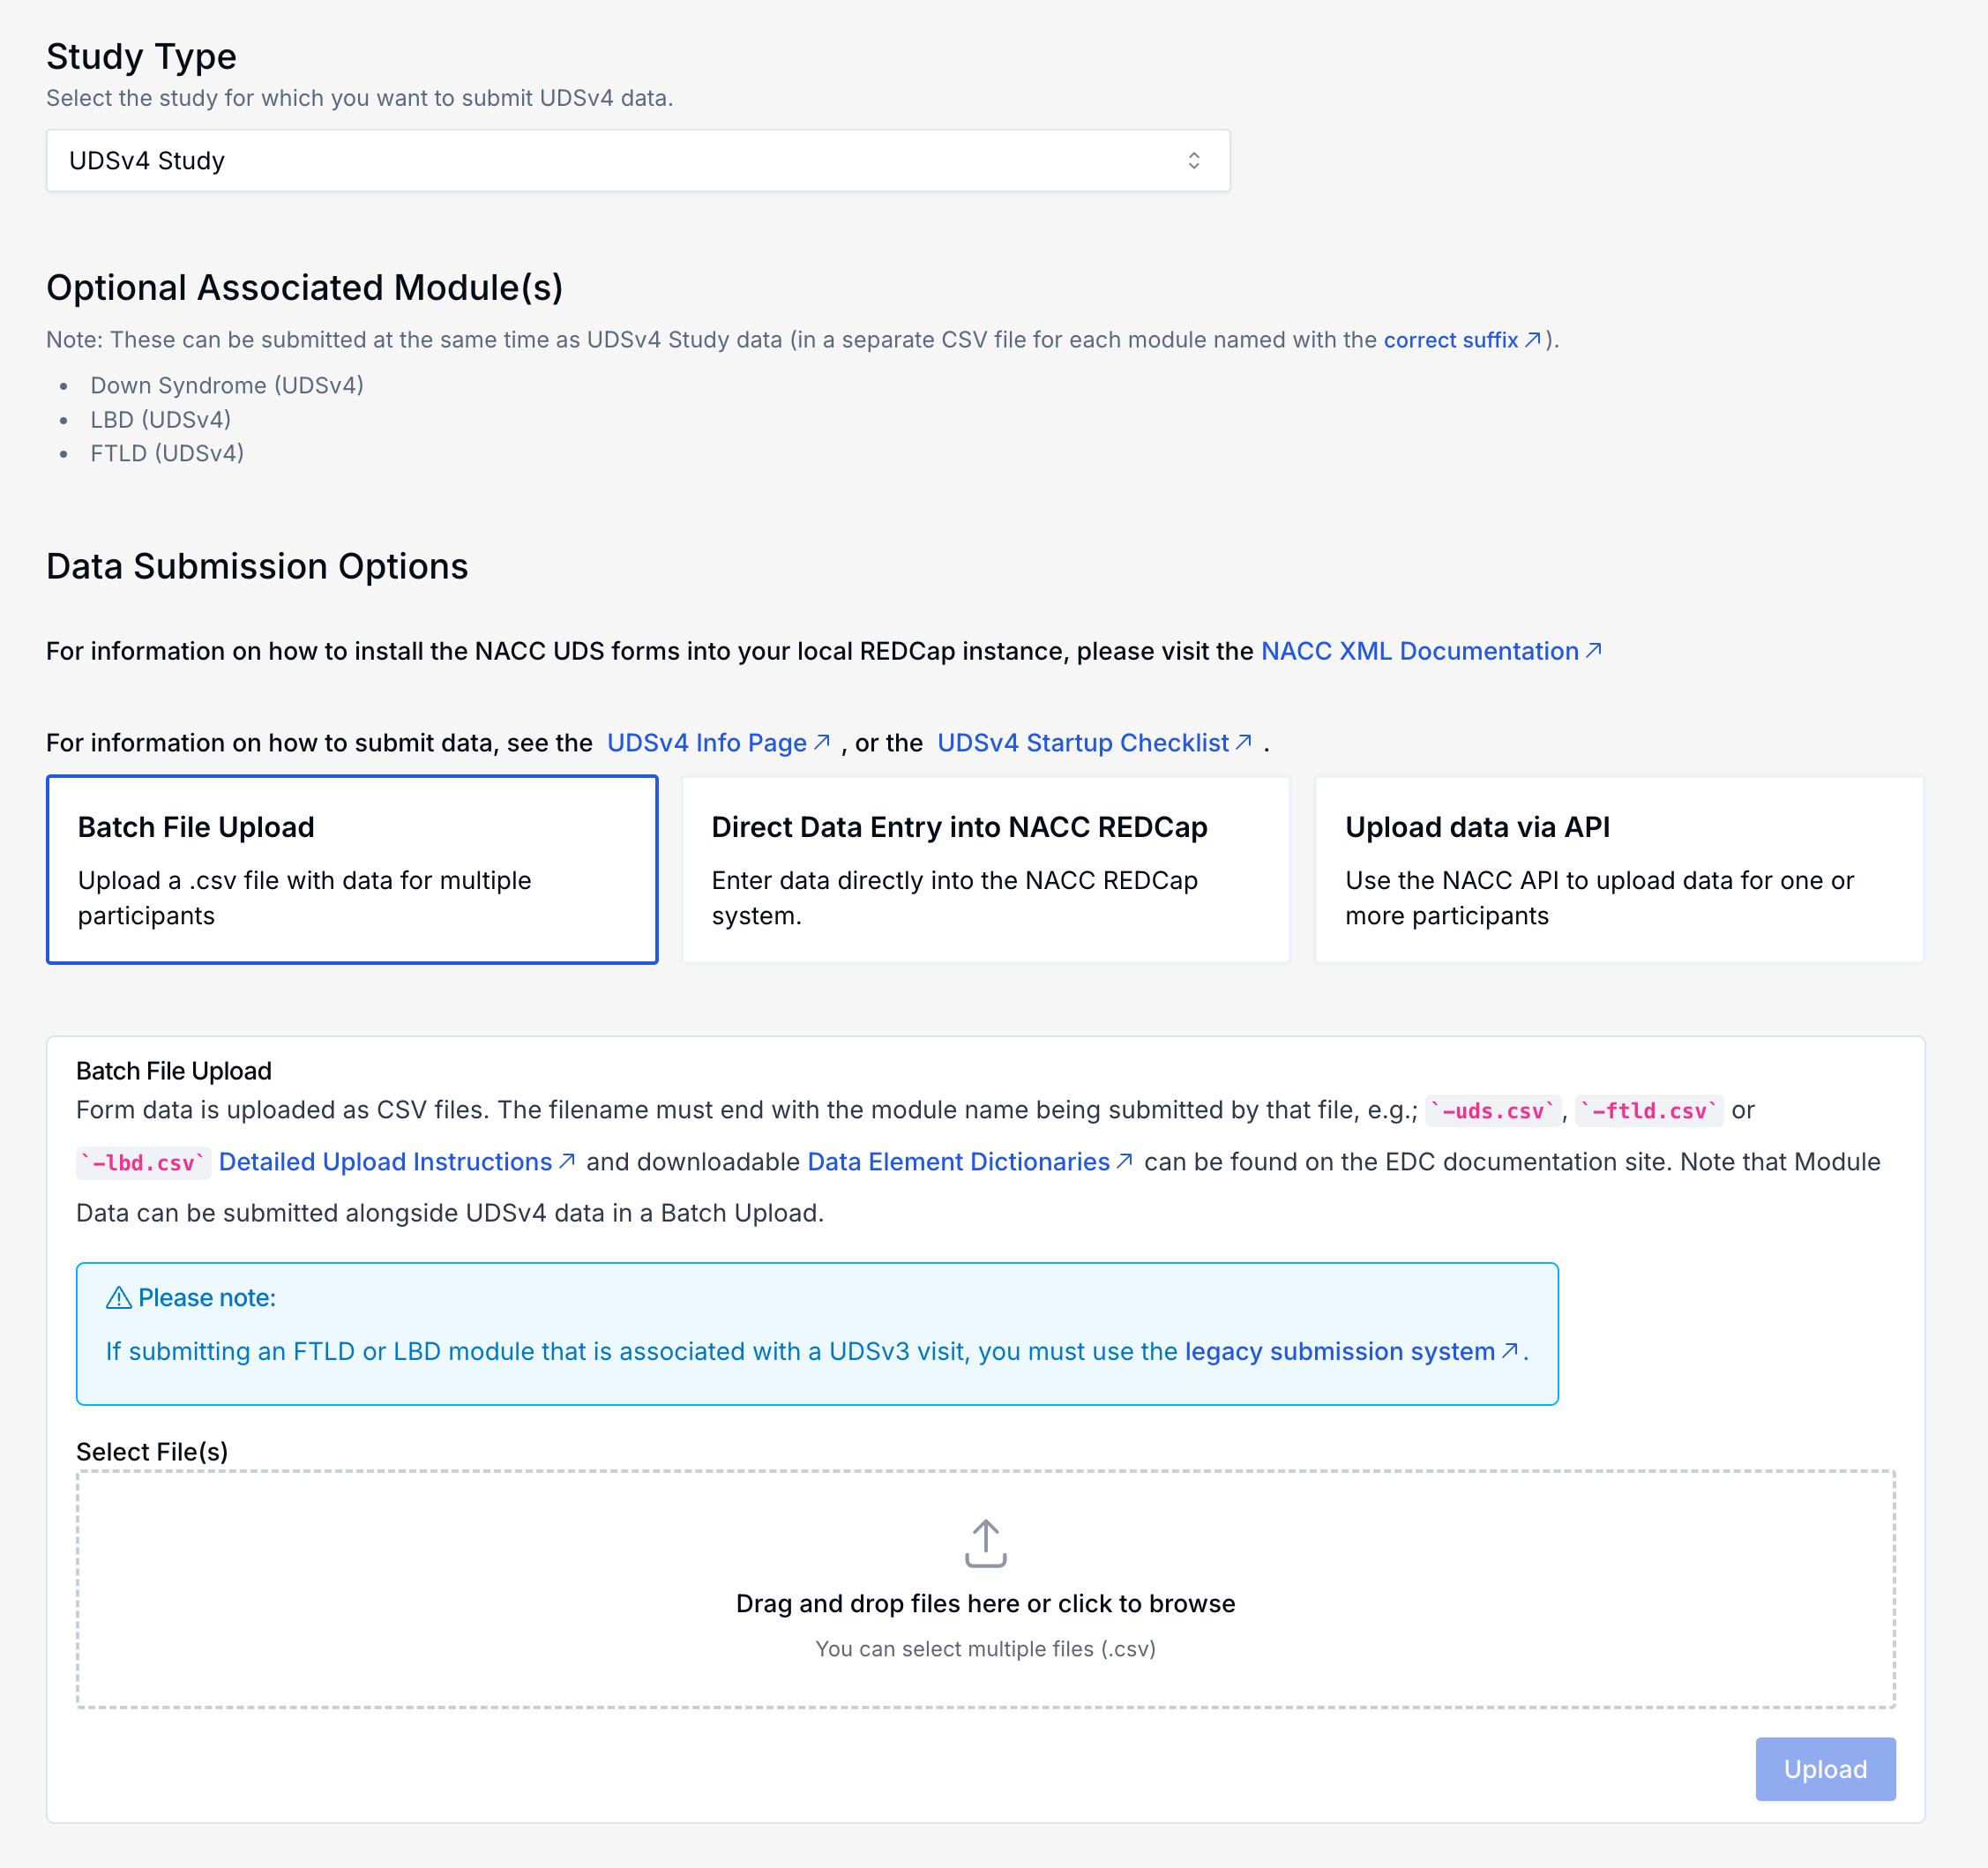
Batch File Upload
ADRCs may upload data for multiple participants at a time using a batch file saved as a CSV.
Batch file format
Accepted batch file format is changed to allow standardization and more robust processing.
The CSV files uploaded must have a header on the first line. Column headers should match with the Data Element Dictionary for the respective module which can be found in the EDC File Downloads Page. All column header variable names are expected to be in lowercase. Each subsequent line in the file should correspond to a participant visit (i.e values form the individual forms for the visit combined in to a comma separated single row in the file).
Each module needs to be submitted in a separate CSV file. You cannot put the data for UDS forms and module forms in the same file, even if they are from the same visit. These have separate data dictionaries, and so have different headers. Each data dictionary corresponds to the columns in one file.
IVP packets and FVP packets for a module can be submitted in the same CSV file (in separate rows). CSV column headers should match the union of IVP and FVP data dictionaries corresponding to the module. Any fields irrelavant to the submitted packet should be left blank in the correponding data row.
UDS visit and respective module visits are linked using the values provided for PTID, VISITDATE, and VISITNUM variables. Each associated module packet should have a corresponding UDS packet submitted.
An example UDSv4 IVP CSV batch file is provided for your reference.
Please note that these are dummy data values, and intended only as a reference to get an idea on the format of the CSV file. DO NOT upload this file to your center.
fixed-width format files are not accepted for UDSv4 and associated module submissions.
Naming files
The names of submitted form data files must have a suffix indicating the module (i.e. <desired name>-<module label>.csv), so that the submission system can determine the expected schema for the file.
The file name suffixes for currently supported modules are given in the table below.
| Module | Suffix | Example |
|---|---|---|
| Enrollment/Transfer (ENROLL) | -enroll.csv | testsubmission-enroll.csv |
| UDS | -uds.csv | testsubmission-uds.csv |
| FTLD | -ftld.csv | testsubmission-ftld.csv |
| LBD | -lbd.csv | testsubmission-lbd.csv |
| BDS | -bds.csv | testsubmission-bds.csv |
| CLS | -cls.csv | testsubmission-cls.csv |
| Milestones (MLST) | -mlst.csv | testsubmission-mlst.csv |
| Neuropathology (NP) | -np.csv | testsubmission-np.csv |
Formatting exports from REDCap EDC-workgroup projects
If your center uses REDCap with the EDC-developed REDCap projects, these projects include a report called "Export [module] Records" (e.g. Export UDSv4 Records) meant for exporting the data to CSV for upload to NACC. These reports allow a center to export only the expected data, even if the REDCap project has been extended for site-specific purposes.
If you are using the NACC REDCap instance, see the Direct Data Entry documentation.
Setting user privileges for manual exports
To export data, a user needs to have Data Export rights to all of the instruments in the project. This is done by a REDCap administrator.
For the user to access the report in the REDCap user interface, they need to be granted View Access. This is done by opening the export report, clicking the Edit Report button, and then under Step 1 ensuring the user has View Access.
Exporting data using the NACC Export report
To manually export this report, open the report in your center's project in REDCap. Under the "View Report" tab, click the "Export Data" button. Then in the dialog that opens, select the CSV (raw data) format and then click "Export Data".
As an alternative, you can automate the export with a script that uses the REDCap API. If you have access to the API, you can use the "API Playground" within the project to find ways to pull the report using different languages. If you use this approach, you can also transfer the data directly into the NACC Data Platform using one of the programmatic upload options.
Note about MS Excel
Opening and saving a CSV within MS Excel can change the format of the file, which may cause problems when you upload. Specially, double check the format of any date fields. NACC only accepts
mm/dd/yyyy,mm-dd-yyyy,yyyy/mm/dd,yyyy-mm-ddformats.
If it is necessary to make changes to the exported CSV file, use one of the following options
- Make the changes programmatically using a script
- Use a CSV editor that doesn't apply data transformations
- Disable 'Automatic Data Conversion' settings in MS Excel
- Windows: Go to File > Options > Data > Automatic Data Conversion and uncheck the conversions you want to prevent
- MAC OS: Go to Excel > Preferences > Edit > Automatic Data Conversion and uncheck the conversions you want to prevent
Submitting the exported file
To submit files through the Portal, select Submit Data, and then click the UDSv4 and Associated Modules button.
Select the Study Type you wish to submit data for, then under Data Submission Options, select Batch File Upload.

Click the Upload button when you are done adding files. If the file suffix does not match with the format listed above, it will be rejected.
Once the files are uploaded, you will be taken to the UDSv4 & Module Forms QC page, where you can monitor the QC status of your submission.
Submitting new visits or modifications
When you have new visits to upload or need to make modifications to any existing visits, it is recommended to only submit those new visits or modified visits. Re-submitting the entire set of participant visits each time (including the ones that are already validated and finalized), will increase the processing time.