Enrollment / Transfer Form (Enrollment Data Submission & Transfer)
Introduction
Alzheimer’s Disease Research Centers (ADRCs) submit Enrollment / Transfer data to NACC through the ADRC Portal to register new participants and/or document participant transfers. For new participants, submitting the Enrollment form is the first required step because it triggers generation of a NACCID, which is needed before other study data can be submitted.
This page describes:
- Where Enrollment/Transfer submission happens in the ADRC Portal
- The three supported submission methods (Batch File Upload, Direct Data Entry into NACC REDCap, Upload data via API)
- How enrollment submissions are processed and how to check status/results
- What to do when a submission fails
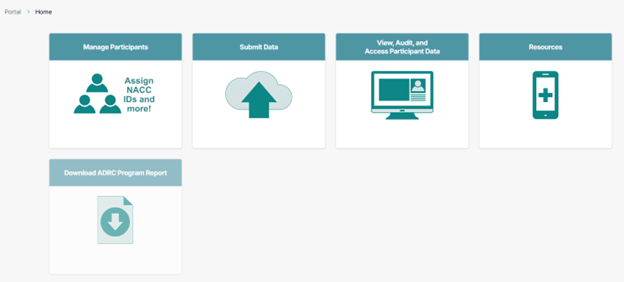
Accessing the Portal and the Enrollment/Transfer entry point
-
Log in to the ADRC Portal.
-
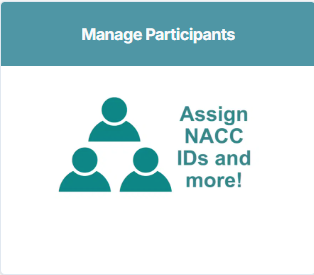
Go to Manage Participants.
Enrollment is not submitted from Submit Data. Most other forms are submitted from Submit Data, but the Enrollment/Transfer form is submitted from Manage Participants.
-
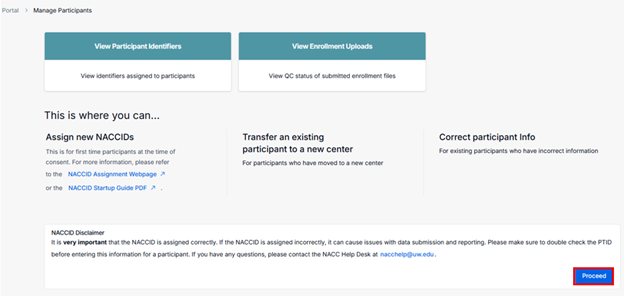
Review the NACCID disclaimer, then click Proceed.
-
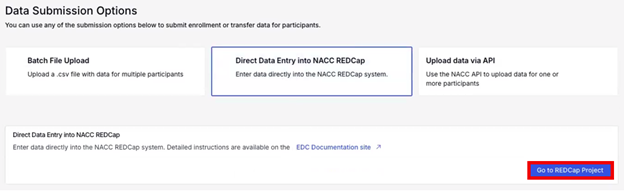
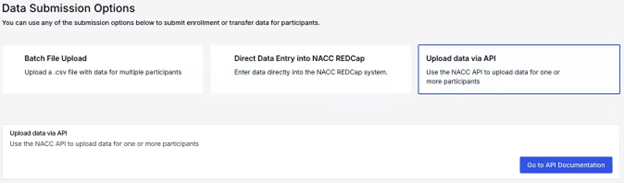
Review the Data Submission Options presented.

Enrollment submission options (three methods)
Option 1: Batch File Upload (CSV via Portal)
Use Batch File Upload to submit one CSV containing one or more enrollment records.
Step-by-step guide
-
From the Data Submission Options, select Batch File Upload.

-
Create a CSV that matches the Data Element Dictionary published on the enrollment downloads page.
- CSV column headers must match the Data Element Dictionary for the enrollment form.
-
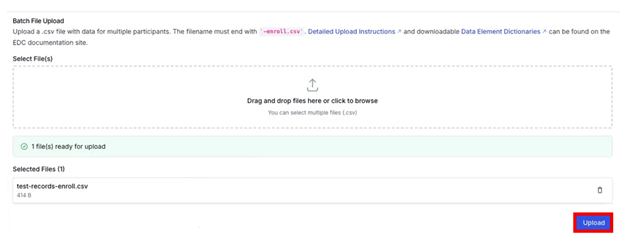
Ensure your file naming convention is correct:
- The filename must include the enrollment suffix (
-enroll), for example:test-records-enroll.csv. - If the suffix is missing or incorrect, the file will not be accepted.
- The filename must include the enrollment suffix (
-
Drag and drop the CSV into the upload area (or click to browse), then click Upload.
-
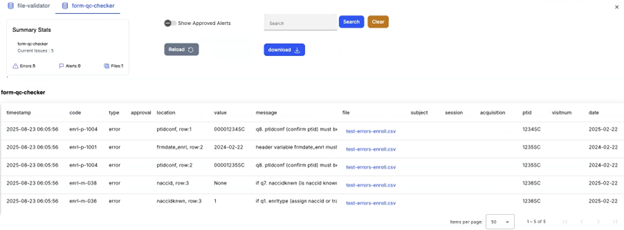
After submission, you will be redirected to the Enrollment Upload QC / Batch CSV QC Status page.
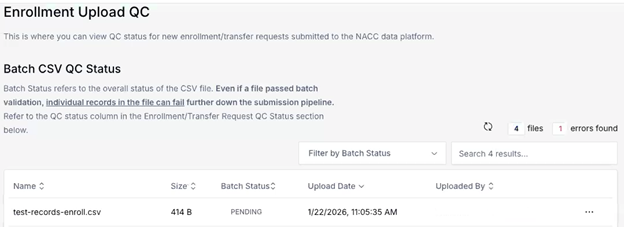
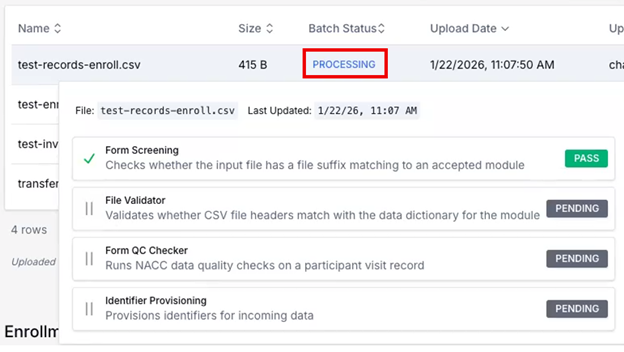
What happens during processing (pipeline)
Enrollment uploads move through staged processing. In the Batch CSV QC Status view, click PROCESSING to see the workflow stages, such as:
- Form Screening: Checks whether the submitted CSV file is correctly named with the enrollment module suffix.
- File Validator: Verifies that the submitted CSV uses the correct headers and data types. The CSV should match the NACC-published Data Element Dictionary (DED) for the enrollment form.
- Form QC Checker: Runs NACC data quality checks according to the NACC-published error checks for the enrollment form.
- Identifier Provisioning (final stage): Assigns a NACCID for the requested participant.
Viewing results
-
Once the submission passes, use the sidebar menu to go to Manage Participants → Participant Identifiers to view the generated NACCID(s).

-
If a single file contains multiple enrollment records, individual record statuses become visible after the submission clears validation.
Timing notes
- Processing time depends on file size and system load.
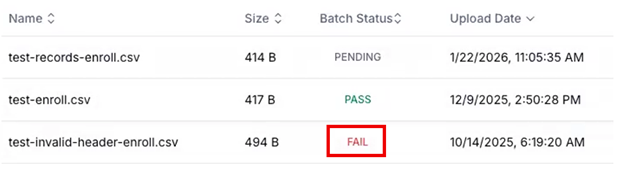
If the upload fails
-
On the Batch CSV QC Status page, click FAIL for the failed submission.
-
Click Resolve Errors to view the error report.
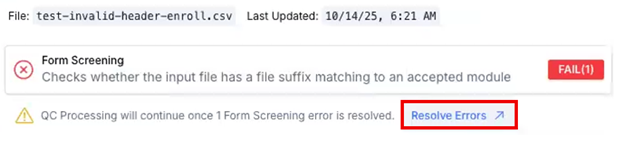
-
Review errors in the error report.
-
Correct the CSV and re-upload.
Option 2: Direct Data Entry into NACC REDCap
This option is available only for centers that have requested a REDCap instance with NACC. If your center does not have it enabled, the option will appear disabled/grayed out.
Step-by-step guide
-
Select Direct Data Entry into NACC REDCap, then click Go to REDCap Project.
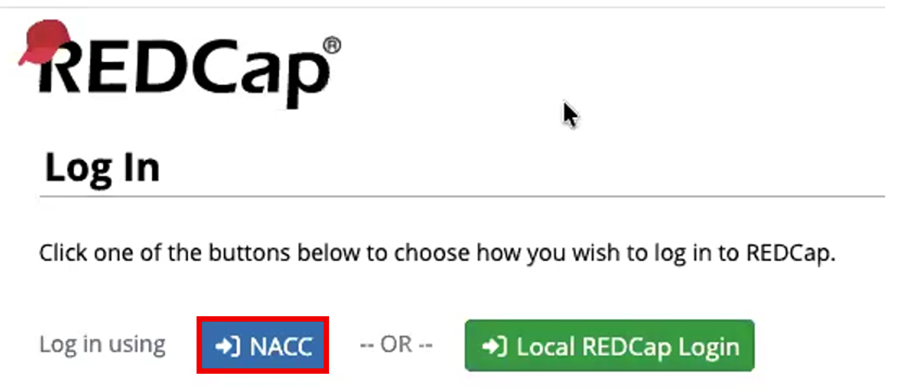
-
On the REDCap login screen, click NACC to sign in.
-
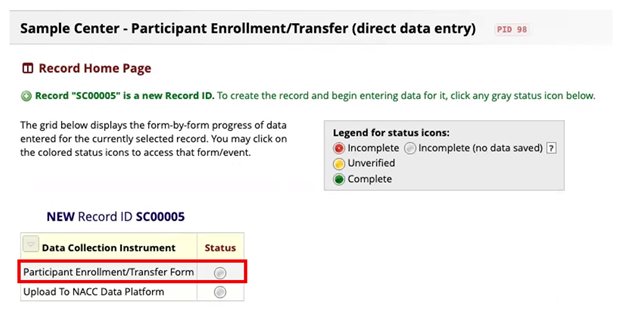
In the Participant Enrollment/Transfer (direct data entry), create a new record using a new Record ID (for example,
SC00005).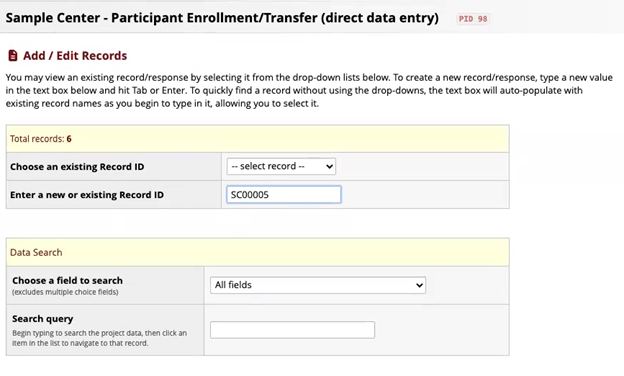
-
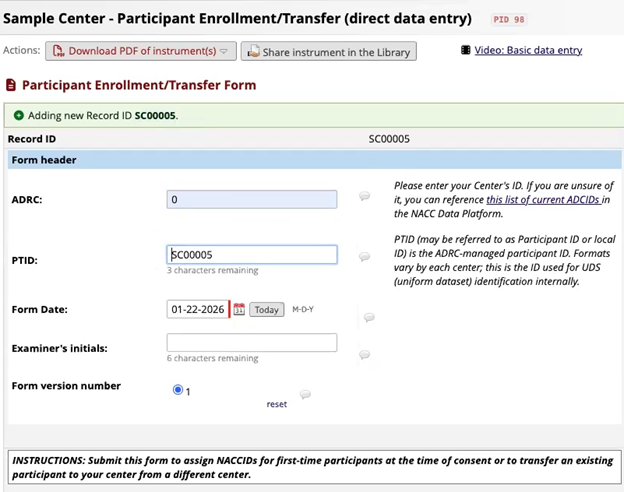
Open the Participant Enrollment/Transfer Form.
-
Complete the Participant Enrollment/Transfer Form (required fields).
-
Mark the Form Status as Complete and click Save & Go To Next Form.

-
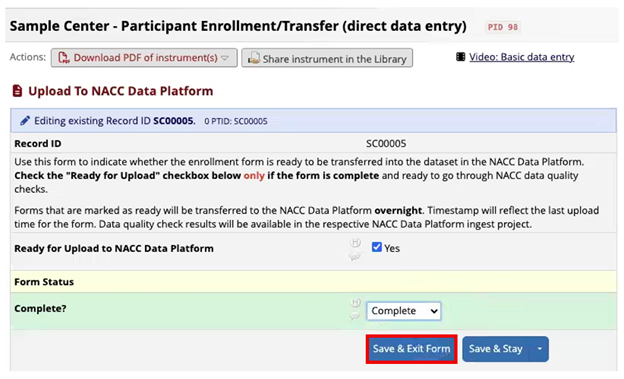
Complete Upload To NACC Data Platform:
- Select Yes (record ready)
- Mark Complete
- Click Save & Exit Form
-
In the sidebar menu, go to Reports → Records Ready for NACC Data Platform Upload to confirm that your record appears.

- REDCap direct entry records are not transferred to the ADRC Portal in real time.
- Records marked as ready are collected and transferred overnight (nightly) for each center.
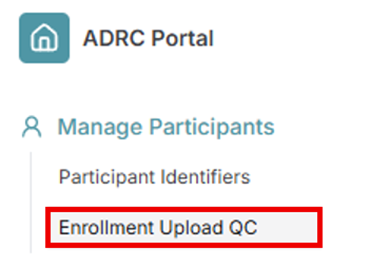
- The next day, use the sidebar menu to open Enrollment Upload QC and review the Enrollment Upload QC page in the ADRC Portal for the resulting REDCap transfer file and its pass/fail status.
Option 3: Upload data via API (Programmatic uploads)
ADRCs may submit enrollment data programmatically using the API (commonly via Python), following the same general workflow used for other forms.
Key requirement
- Enrollment uploads must follow the enrollment-specific file naming/suffix requirement (for example,
-enroll).
For details, refer to the Programmatic Uploads documentation.
Participant Transfer Process
- Receiving center should submit the enrollment/transfer form indicating the transfer
- Provide particpant's NACCID and PTID at the previous center if known
- NACC will review the transfer request and coordinate between the two centers to process the transfer
- NACC wiil notify the two centers once the transfer is complete
Troubleshooting
- File rejected before QC processing: Usually indicates an invalid filename/suffix (Enrollment requires an enrollment suffix such as
-enroll.csv) or CSV structure issues. - Submission failed after entering the pipeline: Use Resolve Errors, correct the issues listed in the error report, and re-upload.
- REDCap record not visible in portal yet: Confirm the record is marked ready and allow for the overnight transfer window; then check QC status the next day.